
Introduction
Earlier this year I wanted to get into malware analysis, I prefer learning things hands on so I asked one of my professors to recommend resources that were suitable, he told me to check out Practical Malware Analysis by Andrew Honig & Michael Sikorski.
My Experience
Personally I had a lot of fun with this book, while the book is quite old, I believe the information covered (within the scope of this blog) are foundational and provide a good stepping stone into one’s malware journey.
The book is quite interesting and did deliver in the sense of being practical, however while going through the book I sometimes had a bit of trouble setting up the labs right and finding the right resources, so I’m writing this blog with a step by step instruction on setting up the labs for upto Chapter 3 in the book.
Virtual Machines
During malware analysis it is a given that one must use a VM, here I will be using VMware Workstation to handle the machines.
Setting Up VMs
We use 2 virtual machines here, a Windows XP VM and a Debian VM. First lets go over configuring VMware, you can install it here, you’ll need to create an account before installation. After the setup is done you should see a screen similar to this,
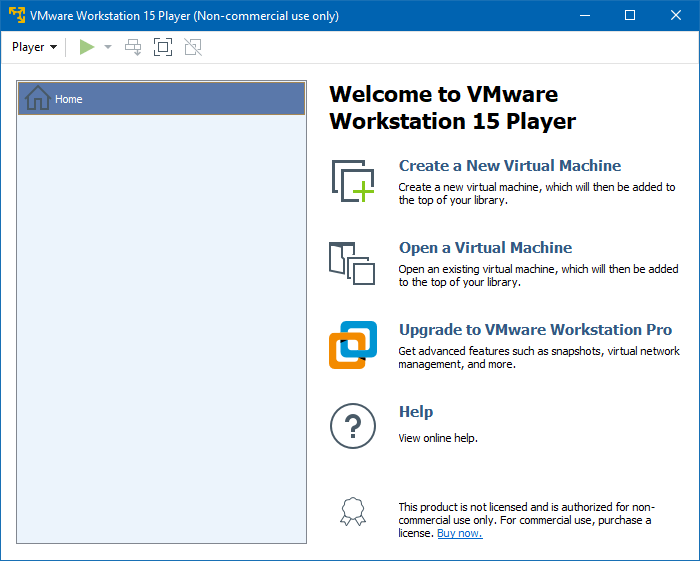
VMware Workstation
Now download the Windows XP VM, Microsoft no longer supports an official download for this but I looked around a little and found someone hosting it on Github, After downloading the .ova file, you can just select the Open a Virtual Machine option and open the ova file, you now have a working Windows XP VM. This is where the malware will be analysed.
For the Windows VM select Edit virtual machine settings under Hardware select Network Adapter and set it to Host-Only, most malware requires networking capabilities so this is done to make sure the malware cannot attack your actual network.
The Debian VM will be used to simulate a network for basic dynamic analysis, the .vmdk file can be found here I would suggest picking the 64 bit Desktop version.
To create the Debian VM, select Create a New Virtual Machine, For the Operating System select I will install the operating system later, for the operating system type select Linux and Debian 10.x, the remaining options are upto you, you may leave the default settings.

VMware Debian Install
After that is done select Edit virtual machine settings for the Debian VM, under Hardware delete Hard Disk, then at the very bottom select the Add option, adding a new Hard Disk, select the recommended Disk Type, when it prompts to select a disk, use an existing disk and browse to the downloaded Debian .vmdk file, save this as the new Hard Disk.
You can now boot up the VM , the username and password for this VM are both osboxes.org.
Setting Up Labs
Now with the VMs in place lets get our labs, you can downloaded the binaries here, however don’t unzip it yet. Being a book for beginners quite a few of these binaries are old and therefore are automatically removed if detected on newer computers. You cannot download it directly to the Windows VM due to the network settings.
What you should do this use a USB to transfer files between the VM & main computer, this is how I installed most of the required tools as well. Unzipping the files in the Windows VM should leave all the labs intact for you to play with.
Tools
Finally the tools, most of these are quite easy to find online and their purposes are explained throughout the book. I’ve compiled a zipped version of the tools required for chapters 0-3 , of the files here INETSIM is to used on the Debian VM, the others should be installed on Windows VM. Download the tools here.
Conclusion
You’re all ready for Practical Malware Analysis, this guide should set you up and (hopefully) you won’t have to scavenge the Internet to download things, I hope you have as much as fun as I did with this book!